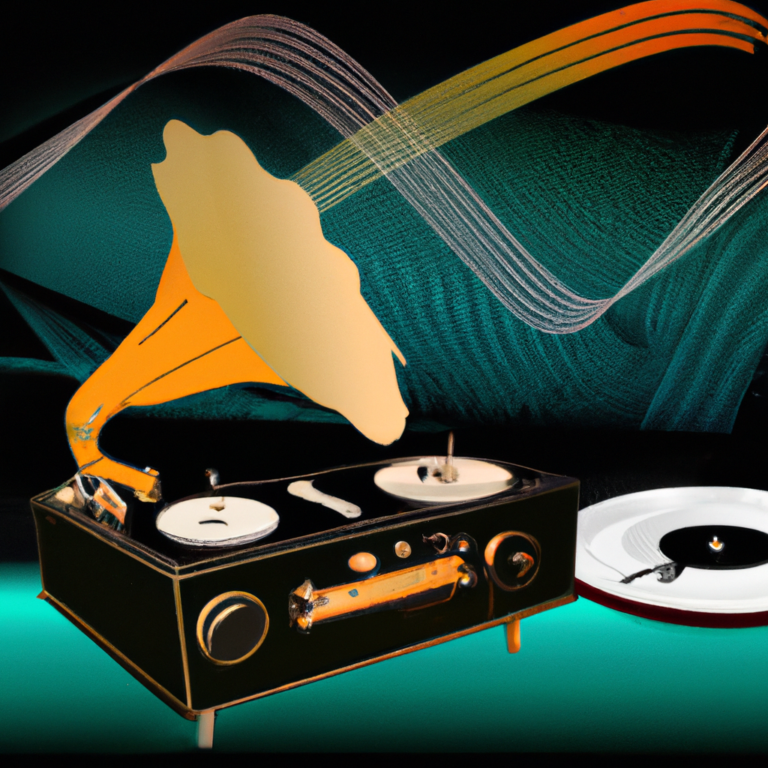
How to Replace a Turntable Cartridge?
Are you looking to improve the sound quality of your favorite records? If so, learning how to replace a turntable cartridge is an essential step. A cartridge is the part of the turntable that holds the stylus, and it can make a huge difference in the audio quality of your music.
Upgrading your turntable’s cartridge can give you a better listening experience, with more clarity and detail in the sound. Replacing the cartridge is not a difficult task, but it requires careful handling and attention to detail. With the right instructions and the right tools, you can get your turntable sounding better than ever.
Why Replace Your Turntable Cartridge?
A phonograph cartridge is a component that converts the vibrations of a stylus as it passes over a vinyl record into an electrical signal. This signal is then amplified and sent to speakers. A worn cartridge can drastically decrease the quality of your audio fidelity. This is because a worn cartridge may struggle to track the grooves on the record, resulting in low volume or distorted sounds.
It’s essential to ensure the correct alignment and tracking force of the cartridge to the record, as well as to adjust the anti-skate settings on the tonearm. The type of cartridge you use is also important, as there are two main types: moving magnet and moving coil. Audiophiles tend to favor the latter, as they are known to produce higher sound quality.
Tools and Preparation
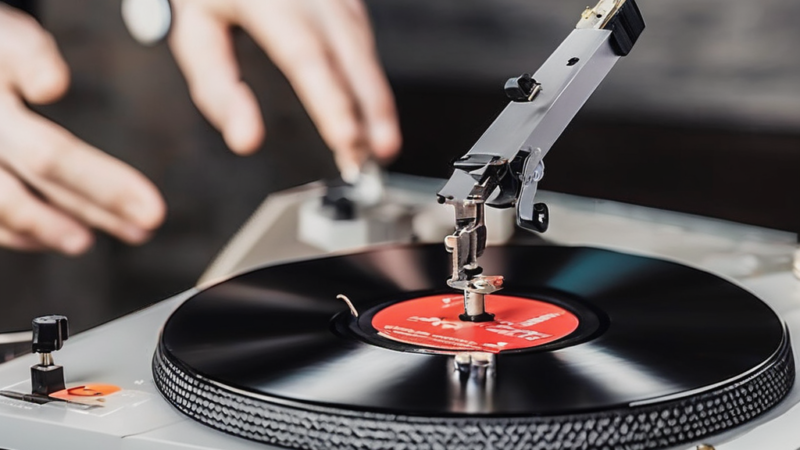
Before starting any record player maintenance, it’s essential to have the right audio equipment. You’ll need a Phillips-head screwdriver, a small flathead screwdriver, and a cartridge replacement kit. You’ll also need a headshell, which is a component of the tonearm and helps hold the cartridge securely in place.
Once you’ve got your tools, it’s important to make sure you have a clean and organized workspace. Make sure your table is free from dust and debris. Then, boldplace all of your tools within arm’s reach, so you don’t have to keep getting up while working.
Remove the tonearm from the turntable and place it on the table.
Step-by-Step Guide to Replacing a Cartridge
Once you have the required materials, follow these steps:
- Turn off the turntable and unplug the power cord.
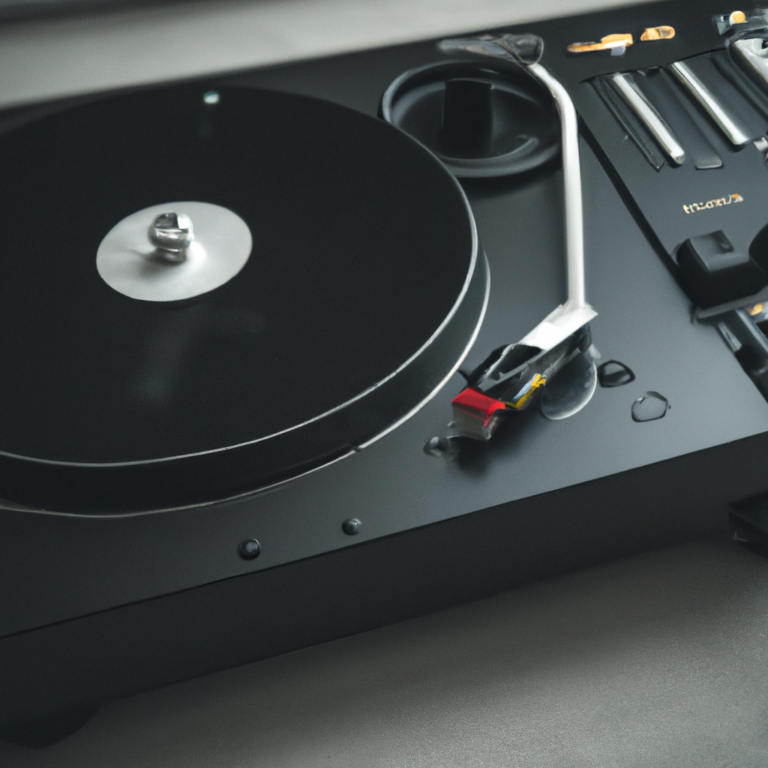
- Remove the existing stylus/cartridge assembly. Depending on your turntable model, this may require you to unscrew the assembly from the tonearm or pull it up and out.
- Carefully remove the stylus/cartridge from the assembly.
- Place your new cartridge onto the assembly, ensuring the cartridge is properly aligned according to the manufacturer’s instructions.
- Secure the cartridge in place with the screws provided, using the small screwdriver.
- Fit the cartridge assembly back onto the tonearm and tighten any screws to secure it in place.
- Plug in the power cord and turn on the turntable.
Replacing a turntable cartridge can be a simple task with the right tools and a step-by-step guide. With this knowledge and the necessary materials, you should have no trouble replacing the cartridge and getting your record player up and running again.
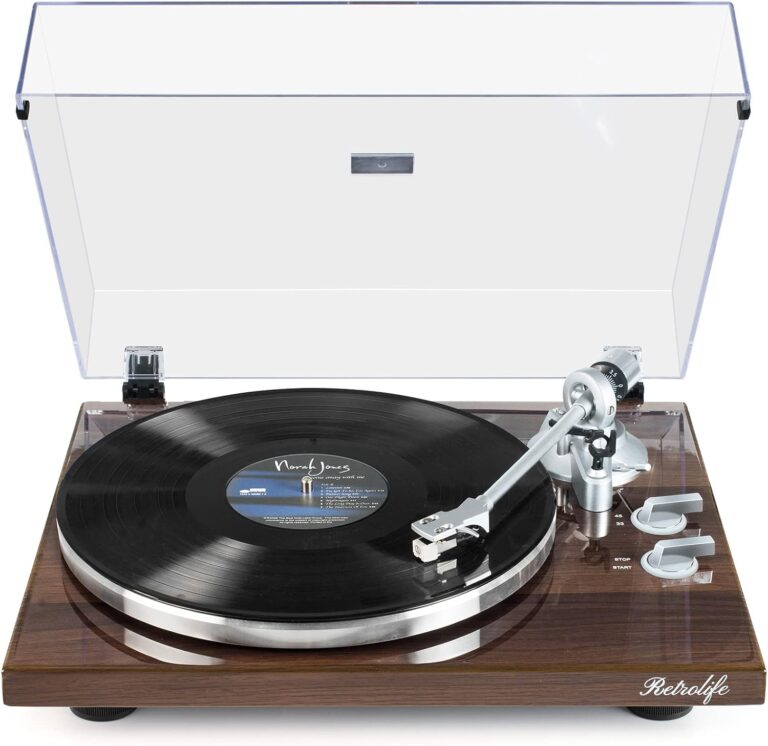
Aligning and Balancing the Cartridge
Alignment is the process of making sure the stylus tracks the grooves of a record accurately. This helps ensure the best possible sound fidelity and sound quality. It’s important to set the correct tracking force first before you start the alignment process.
You can use alignment tools to help you get the job done right. Alignment tools can vary, from protractors to dedicated cartridge alignment systems. Whichever tool you choose, make sure to follow the instructions closely.
Balancing the tonearm is also important. It’s the process of making sure the tonearm is level and that the anti-skate is set correctly. This helps to ensure the stylus tracks the record grooves properly, which helps maintain a consistent sound.
Fine-Tuning for Optimal Sound
Now that you have your turntable up and running with a properly aligned and balanced cartridge, it’s time to go one step further and fine-tune it for the best possible sound. Achieving optimal sound requires careful adjustment of your tonearm height and other factors. But with the right approach and a bit of experimentation, you can take your listening experience to the next level.
Start by adjusting the tonearm height so that the cartridge is perfectly parallel to the record. This is important for maintaining good tracking and audio fidelity. Then, adjust the anti-skate setting to the same number as the tracking force. This will help keep the stylus from skewing too far to one side as it moves across the record.
Next, you’ll want to test the sound quality. Put on a record you know well and listen for any distortion or other imperfections. If the sound doesn’t meet your expectations, readjust the tonearm height and tracking force until you find the sweet spot.
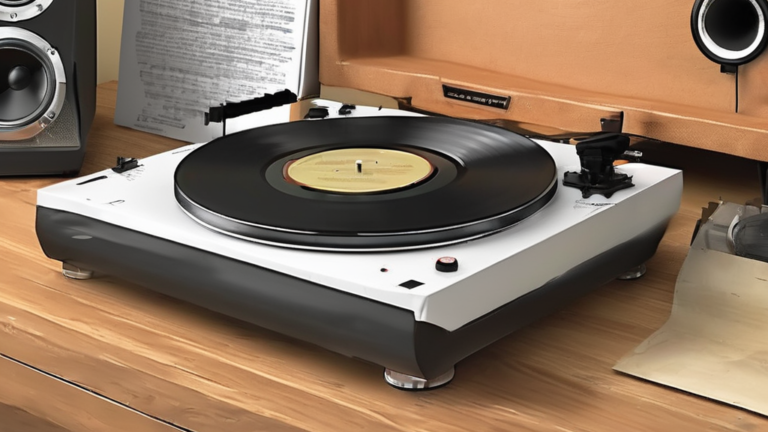
Maintaining Your Turntable and Cartridge
Now that you’ve adjusted your turntable for optimal sound, it’s important to maintain it regularly. This will ensure that you get the most out of your vinyl listening experience for years to come.
The best way to keep your turntable in good condition is by regularly cleaning your stylus—the needle on your cartridge. Over time, dust and particles build-up that can cause wear and tear. To clean the stylus, purchase a stylus brush and use it gently on the needle.
If you need to replace your needle, too, check out our guide on how to do it properly.
It’s also important to check your cartridge for any damage or signs of wear. If you notice any irregularities, it’s recommended to get a professional opinion. A qualified technician can assess the condition of your cartridge and provide you with the best advice on how to proceed.
Finally, consider investing in a professional setup service. This will ensure that all the settings—tracking force, anti-skate, and alignment—are perfectly calibrated for your particular cartridge.
FAQs
How often should I replace my turntable cartridge?
The frequency at which you need to replace your cartridge depends on several factors, including your listening habits and the quality of your audio equipment. Generally, it is recommended that you replace your cartridge every 1-3 years. It is important to keep an eye on the condition of the stylus, as it is the most important component in determining sound quality. If it has become worn down or damaged, it may be time to replace it.
Can I replace a cartridge myself or should I get professional help?
It really depends on your comfort level with the process and the type of cartridge you have. If you have a moving magnet or moving coil cartridge, then you might be able to do the job yourself. However, if you have a stereo phonograph, then you should consider getting professional help. This type of cartridge is more complex and requires more precision for proper installation. If you’re not experienced with the process, then the risk of improperly installing a cartridge is not worth the potential reward.
What are the risks of improperly installing a cartridge?
Incorrectly installing a cartridge could be damaging to your vinyl records and audio equipment; it could also diminish sound quality and audio fidelity. Additionally, it could cause the stylus to become damaged or warped.
Conclusion
Replacing a turntable cartridge is a great way to improve the sound of your vinyl records. With the right tools and a bit of know-how, you can quickly and easily upgrade your record player. By following the steps in this article, you can properly align and balance your new cartridge for optimal sound, and maintain it for years to come. With a few simple steps, you can give your audio equipment a new lease of life.
Whether you’re a rookie or an experienced audiophile, taking the time to replace a cartridge is one of the best investments you can make to ensure audio fidelity. Making sure your cartridge is correctly aligned and balanced will help ensure your turntable is performing to its full potential. So why not go ahead, replace your cartridge, and get the most out of your vinyl records?
Our Mission: At AudioInspects, we are dedicated to providing the most comprehensive and authentic reviews of audio equipment on the market. We conduct independent testing and research of products, so you can make an informed decision before making a purchase. Our mission is to help you find the best audio equipment to improve your listening experience. So trust us to deliver the most reliable recommendations and advice.
Disclosure: When you do decide to make a purchase through our links, please note that we may earn a commission, but this does not affect the honesty of our reviews. You can read our affiliate disclosure in our Disclosure.