How to Connect a Turntable to Speakers: Ultimate Guide for Vinyl Lovers!
Understanding how to connect a turntable to speakers is essential for those who enjoy the warm, rich sound of vinyl. The process requires a few key components and a basic understanding of audio equipment. To begin, ensure you have a turntable, speakers, and possibly an amplifier or receiver.
Understanding the Components
Firstly, we have the preamp. It’s a small device that boosts the signal from your vinyl record player, making it strong enough for the next stages of sound production. Without it, the music would sound thin and weak.
Next, we have the receiver. It’s the heart of your audio setup, connecting various components. It receives signals from the preamp, amplifies them, and sends them to your stereo system, thus producing the sound that fills your room.
These are just a few of the components that contribute to the final output. Understanding these parts not only helps you appreciate the music more but also troubleshoot any issues that arise. So, let’s continue our journey into the fascinating world of vinyl records.
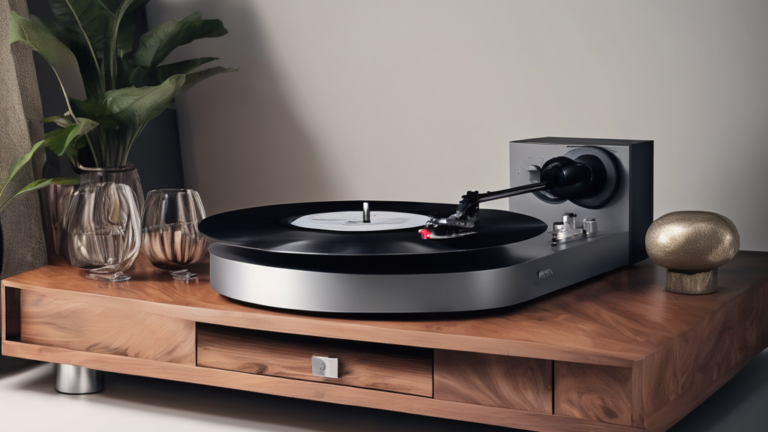
Choosing the Right Turntable
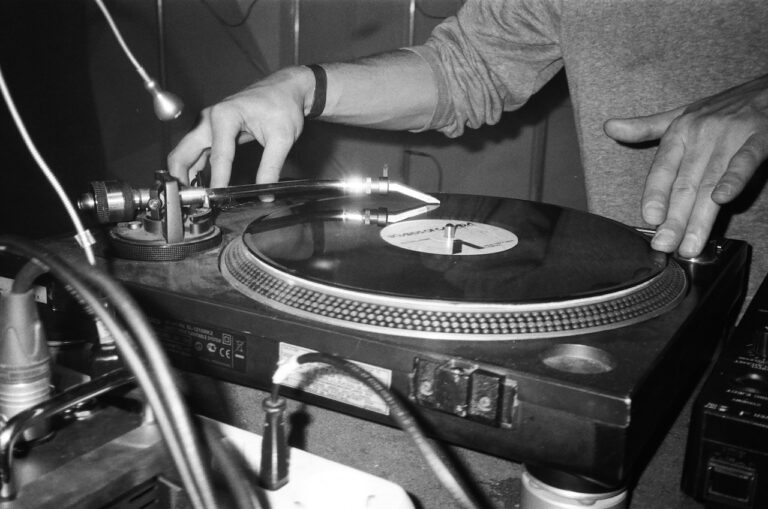
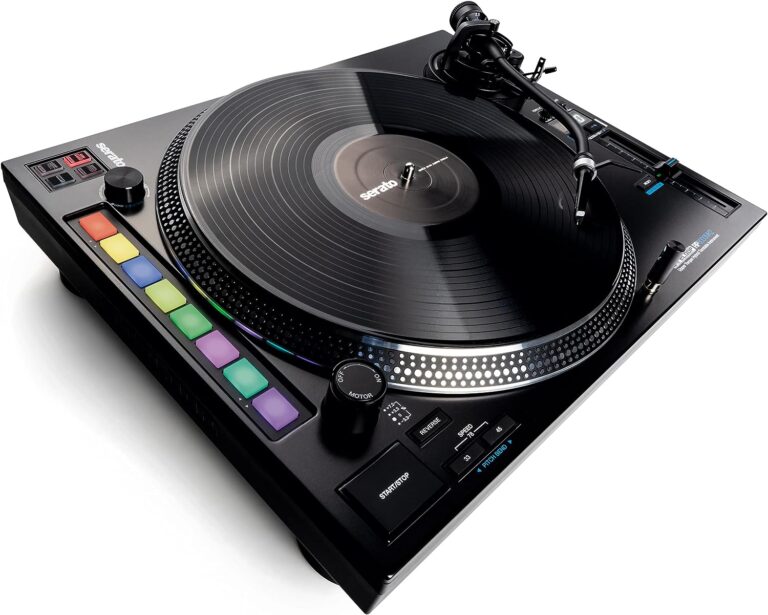
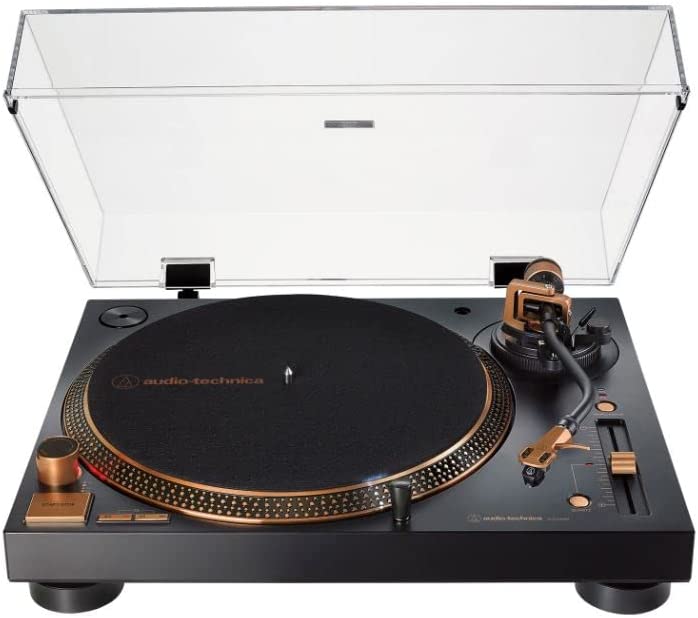
One key aspect to consider is the drive type. You’ll need to choose between a belt drive and a direct drive. The belt drive is known for its ability to absorb shock and reduce vibrations, delivering a pristine sound. On the other hand, a direct drive provides more torque and speed accuracy, preferred by DJs for scratching and mixing.
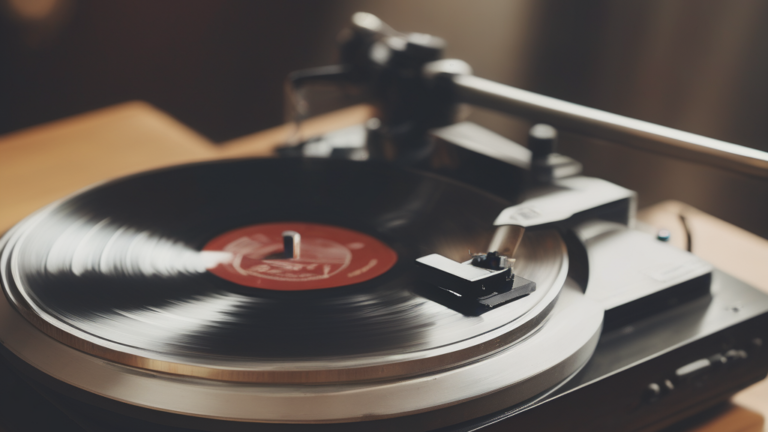
Next, you’ll want to pay attention to the stylus and cartridge. These elements play a critical role in determining the sound quality, and they come in different shapes and materials. Always remember, a more expensive stylus or cartridge doesn’t necessarily guarantee better sound; it’s more about compatibility with your player.
Lastly, don’t neglect the plinth. This base supports all other parts and can significantly affect the sound quality. A well-designed plinth minimizes vibrations, ensuring a smooth, uninterrupted listening experience.
The Role of the Preamp
To understand its importance, let’s delve into its function. The phono preamp provides two main benefits: amplification and RIAA equalization. The output from your vinyl record is relatively weak, so it needs a signal boost to match the power levels of other audio sources. That’s where our phono preamp comes into play, amplifying this signal to a level that your sound system can effectively utilize.
On the other hand, RIAA equalization is a process that adjusts the frequencies of the signal to create a balanced sound output. Without this equalization, the sound from your records might seem distorted or unbalanced. So, while it might seem like a small component, the phono preamp is indeed a pivotal part of your vinyl listening experience.
Connecting to Passive vs. Powered Speakers
Passive speakers are simply speakers without built-in amplifiers. This means they rely on an external source for power, typically an amplifier or a receiver. You’ll need to connect them using speaker wires to your amplifier. You control the volume and tone from the amplifier, giving you a greater degree of control over your sound.
On the other hand, powered speakers, also known as active speakers, have built-in amplifiers. This saves you from the hustle of purchasing a separate amplifier and the extra space it would require. However, the trade-off is that you might not have as much control over the sound output.
In summary, your choice between passive and powered options depends on your preferences and the flexibility you want in your audio setup.
Step-by-Step Guide to Connecting Turntable to Speakers
Step 1: Identify the Necessary Equipment
Before you start, ensure you have all the necessary equipment. This includes your turntable, speakers, receiver or amplifier, RCA cables, and a phono preamp if your turntable or receiver doesn’t have one built in.
Step 2: Connect the Turntable to the Phono Preamp
If your turntable doesn’t have a built-in preamp, you’ll need an external one. Connect the RCA cables to the ‘Audio Out’ jacks on your turntable, then plug the other end of the cables into the ‘Phono In’ jacks on the preamp.
Step 3: Ground Your Turntable
If your turntable has a grounding wire (usually found near the RCA cables), connect it to the grounding post on the phono preamp. This will prevent any unwanted noise or hum from the speakers.
Step 4: Connect the Preamp to the Receiver
Using another set of RCA cables, connect the ‘Audio Out’ jacks on the phono preamp to the ‘Phono In’ jacks on your receiver or amplifier. If your turntable or receiver has a built-in preamp, you can skip steps 2 and 4.
Step 5: Connect the Receiver to the Speakers
Depending on your setup, this step will vary. If you have powered speakers (speakers with a built-in amplifier), use RCA cables to connect the ‘Audio Out’ jacks on your receiver to the ‘Audio In’ jacks on your speakers. If you have passive speakers (speakers without a built-in amplifier), you’ll need a speaker wire to connect the speaker output on your receiver to the speaker inputs on your speakers.
Step 6: Power Everything Up
Make sure everything is turned off before you start connecting the power cords. Once everything is connected, turn on your equipment in this order: turntable, preamp (if used), receiver, and finally, speakers.
Step 7: Test Your Setup
Place a record on the turntable and slowly move the tonearm onto the record to start playing. Adjust the volume on your receiver or speakers to a comfortable listening level.
Follow these steps and enjoy the rich, warm sound of vinyl records played on your sound system. As with any audio setup, always remember to handle your equipment with care to ensure the best sound quality and longevity.
Troubleshooting Common Issues
Sometimes, you might find that the music from your record player is faint or distorted. This could be due to a weak signal from your music device. A quick fix is to check if your music unit has an inbuilt signal enhancer to boost the audio signal. If not, there are standalone units available in the market that can serve this purpose.
Another common issue is an unwanted noise or buzz, which could be a grounding issue. Check if your music gear has a grounding terminal and ensure that it’s properly connected.
Don’t let these minor issues deter you from enjoying your favorite records. Remember, troubleshooting is part of the journey to a perfect analog playback experience.
Conclusion
In the end, it’s about making your music machine work in harmony with your sound output devices. Once you grasp the intricacies of the components and understand their roles, you’re on your way to an immersive listening experience.
Don’t be put off by common issues that might crop up. With a little patience and troubleshooting, you can resolve minor problems with ease. Remember, the joy of the analog listening experience is well worth the effort.
Our Mission: At AudioInspects, we are dedicated to providing the most comprehensive and authentic reviews of audio equipment on the market. We conduct independent testing and research of products, so you can make an informed decision before making a purchase. Our mission is to help you find the best audio equipment to improve your listening experience. So trust us to deliver the most reliable recommendations and advice.
Disclosure: When you do decide to make a purchase through our links, please note that we may earn a commission, but this does not affect the honesty of our reviews. You can read our affiliate disclosure in our Disclosure.