Mastering Your Craft: How to Use Turntables with Serato DJ
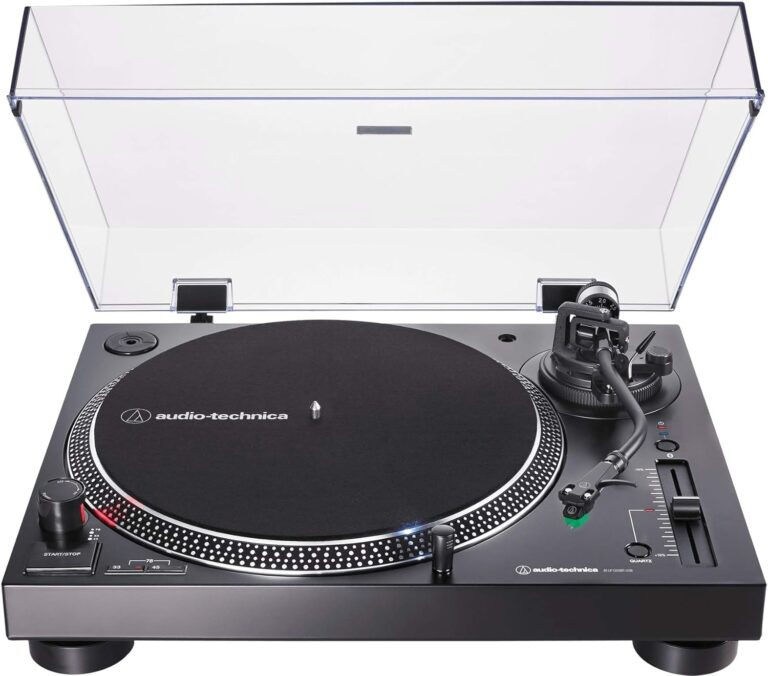
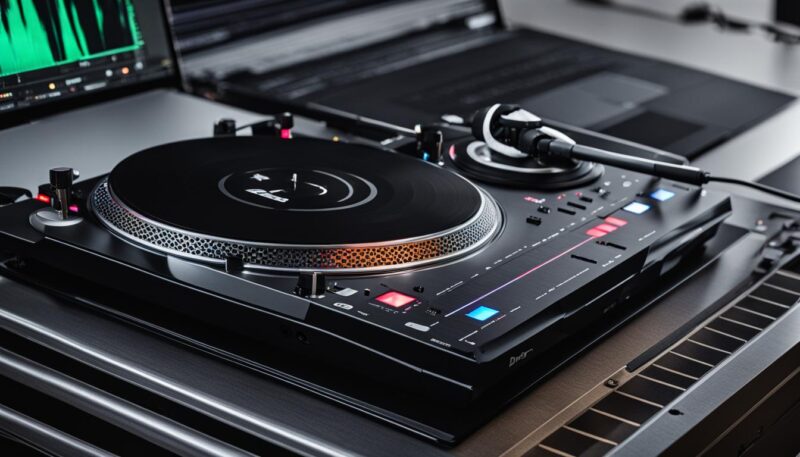
To master the art of using turntables with Serato DJ, it is crucial to follow these important steps. First and foremost, you need to set up your turntables and mixer properly, ensuring seamless integration with the Serato DJ software. The use of digital audio interfaces that are compatible with both turntables and Serato DJ is essential.
World-renowned DJ Shortee offers a comprehensive video course that covers all the necessary gear and integration techniques. By following her step-by-step instructions, you can effectively assemble and integrate your turntable setup with Serato DJ. With upgraded gear, a prepared music collection, and honed mixing techniques, you can unlock your full potential as a DJ.
Key Takeaways:
- Properly set up your turntables and mixer to integrate with Serato DJ.
- Use digital audio interfaces that are compatible with both turntables and Serato DJ.
- Follow DJ Shortee’s video course for comprehensive gear and integration techniques.
- Upgrade your gear, organize your music collection, and practice mixing techniques.
- Unlock your full potential as a DJ by mastering the use of turntables with Serato DJ.
Setting Up Your Turntables with Serato DJ
Properly setting up your turntables is crucial for a seamless experience with Serato DJ. By following a few simple steps, you can ensure compatibility and integration between your turntables and the software.
To begin, you’ll need to check the compatibility of your turntables with Serato DJ. Luckily, Serato DJ supports various turntable models, including the popular Pioneer XDJ Series and Denon DJ Prime series. Before proceeding, consult the manufacturer’s instructions for specific setup requirements.
Next, you’ll need to connect your turntables to your mixer. This can be done using a digital audio interface or a USB cable, depending on your setup. Ensure that the connections are secure and properly plugged in.
Once your turntables and mixer are connected, launch the Serato DJ software on your computer. Make sure that your software is up to date to ensure maximum compatibility and performance.
In summary, setting up your turntables with Serato DJ involves checking compatibility, connecting your turntables to your mixer, and launching the Serato DJ software. Following these steps will help you create a seamless DJing experience with your turntables and Serato DJ.
Integrating Serato DJ with Vinyl Turntables
When it comes to DJing, there’s something special about the tactile experience of manipulating vinyl records. With Serato DJ, you can have the best of both worlds by integrating vinyl turntables into your digital setup. By using Serato control vinyl and a compatible DJ mixer, you can enjoy the familiar feel of vinyl DJing while harnessing the power of Serato DJ’s digital capabilities.
To integrate Serato DJ with vinyl turntables, you’ll need to get your hands on some Serato control vinyl. These specially designed records have control signals embedded in them, allowing Serato DJ to track the movement of the vinyl and manipulate the digital audio accordingly. With the control vinyl on your turntables, you can scratch, cue, and mix just like you would with traditional vinyl records, but with the added benefit of having access to your entire digital music library.
In addition to the control vinyl, you’ll also need a DJ mixer that supports DVS (Digital Vinyl System) functionality. This allows for seamless integration between your turntables, mixer, and Serato DJ. Make sure to check the compatibility of your mixer with Serato DJ, as not all mixers support DVS. Once you have the control vinyl and a compatible mixer, connect your turntables to the mixer following the manufacturer’s instructions.
With your turntables and mixer properly set up, launch the Serato DJ software and configure it to recognize your vinyl setup. This typically involves calibrating the control vinyl and assigning the correct inputs and outputs in the software’s settings. Once everything is configured correctly, you can start spinning your vinyl records and experiencing the joy of vinyl DJing with all the benefits of Serato DJ’s advanced features and digital workflow.
The Benefits of Integrating Vinyl Turntables with Serato DJ
Integrating vinyl turntables with Serato DJ offers several advantages for DJs. First and foremost, it allows you to bridge the gap between traditional vinyl DJing and the digital world. You can bring your vinyl collection back to life and explore new possibilities by incorporating digital effects, loops, and samples into your sets.
Another benefit is the convenience of having access to a vast music library. With Serato DJ, you can organize and categorize your digital tracks, making it easier to find and play the right song at the right moment. You no longer have to lug around heavy crates of vinyl records to gigs – your entire music collection can be stored on a laptop or external hard drive.
Lastly, integrating vinyl turntables with Serato DJ opens up opportunities for creative mixing techniques. With the ability to instantly access cue points, loops, and samples, you can push the boundaries of your DJing and create unique blends that would be difficult to achieve with just vinyl records alone.
| Benefits of Integrating Vinyl Turntables with Serato DJ | |
|---|---|
| Bridges the gap between traditional vinyl DJing and digital | Access to a vast music library |
| Convenience of organizing and categorizing digital tracks | Opportunities for creative mixing techniques |
Recording Your Mixes with Serato DJ
Serato DJ offers a convenient feature that allows you to record your mixes directly within the software. Whether you’re using turntables, digital DJ controllers, or a combination of both, recording your mixes with Serato DJ is a simple process that can help you capture your performances and share them with others. To begin recording, just click on the “REC” button in the Serato DJ interface. This will start the recording and capture all the audio that passes through the software.
It’s important to pay attention to your audio levels when recording your mix. Make sure the volume is set appropriately to avoid any clipping or distortion in the recording. You can monitor the audio levels using the level meters in Serato DJ. If you notice that the levels are peaking or hitting the red zone, adjust the gain or volume controls on your mixer to ensure a clean and balanced recording.
Once you’ve finished recording your mix, Serato DJ provides options for saving and exporting the recording. You can choose to save it as a WAV or AIFF file, which are uncompressed audio formats that maintain the highest quality. Alternatively, you can save it as an MP3 file, which is a compressed format that takes up less storage space but may result in a slight loss of audio quality. Select the format that best suits your needs and preferences.
Tips for Recording Your Mixes:
- Before recording, ensure that all your equipment is properly connected and set up.
- Plan your mix and have a clear idea of the tracks you want to include.
- Practice your transitions and blends to ensure smooth mixing during the recording.
- Experiment with different effects and techniques to add depth and creativity to your mix.
- Consider adding a brief introduction or voiceover at the beginning of the recording to personalize it.
Example Table: Recommended Recording Formats
| Format | Audio Quality | File Size |
|---|---|---|
| WAV | Uncompressed, highest quality | Large |
| AIFF | Uncompressed, highest quality | Large |
| MP3 | Compressed, slight loss of quality | Smaller |
Conclusion
Mastering the use of turntables with Serato DJ is essential for DJs looking to unlock their full potential. By following the proper setup procedures, integrating turntables with Serato DJ, and honing your mixing skills, you can deliver outstanding performances that will impress your audience.
Recording your mixes with Serato DJ allows you to capture your performances and share them with others, helping you build a fan base and promote yourself as a DJ. Whether you’re using vinyl turntables or other digital DJ controllers, Serato DJ offers a user-friendly recording feature that allows you to save your mixes in various formats and locations.
With the right equipment, software, and preparation, you can elevate your DJing to the next level and leave your mark in the world of music. So, take the time to learn how to use turntables with Serato DJ, experiment with different mixing techniques, and unleash your creativity for unforgettable DJ sets.
FAQs
How do I set up my turntables with Serato DJ?
To set up your turntables with Serato DJ, make sure they are compatible with the software and properly connected to your mixer. Use digital audio interfaces or USB cables to connect your turntables to your computer. Launch the Serato DJ software and start mixing your tracks.
Can I use vinyl turntables with Serato DJ?
Yes, vinyl turntables can be integrated with Serato DJ. To do this, you will need to use Serato control vinyl and a compatible DJ mixer with DVS functionality. Connect your turntables to the mixer and use the control vinyl to enjoy the feel of vinyl DJing while using the digital capabilities of Serato DJ.
How can I record my mixes with Serato DJ?
Serato DJ offers a built-in recording feature. Simply click on the “REC” button in the software interface to start recording. Make sure to check your audio levels to ensure a clean recording. Serato DJ also provides options to save your recorded mix in various formats and locations.
Why should I learn how to use turntables with Serato DJ?
Mastering the use of turntables with Serato DJ allows you to have the tactile experience of manipulating vinyl records while still enjoying the convenience of digital DJing. It helps unlock your full potential as a DJ and allows you to create a unique and impressive performance.
Source Links
- https://campus.mixcloud.com/post/how-to-record-your-dj-mix
- https://www.groove3.com/tutorials/The-Complete-DJ-Gear-Guide-to-Turntables-and-a-Mixer
- https://astroavl.com/blog/post/mastering-the-club-dj-setup.html
Our Mission: At AudioInspects, we are dedicated to providing the most comprehensive and authentic reviews of audio equipment on the market. We conduct independent testing and research of products, so you can make an informed decision before making a purchase. Our mission is to help you find the best audio equipment to improve your listening experience. So trust us to deliver the most reliable recommendations and advice.
Disclosure: When you do decide to make a purchase through our links, please note that we may earn a commission, but this does not affect the honesty of our reviews. You can read our affiliate disclosure in our Disclosure.

